


Introdução aos clamps de reparação de tubos
O que é um grampo de reparo de tubos?
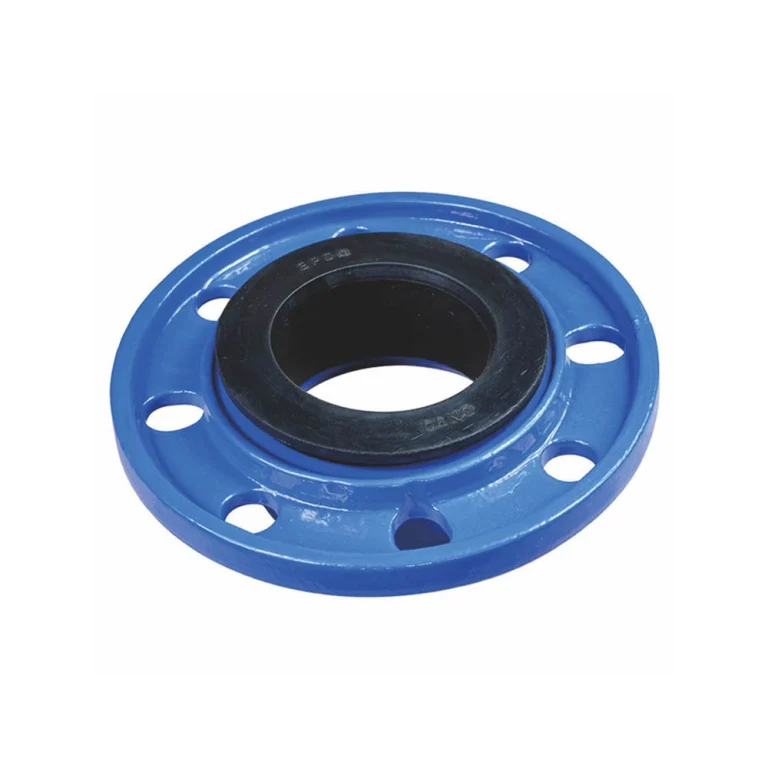
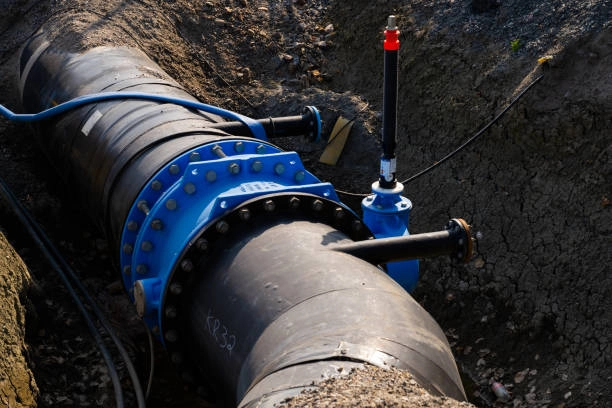
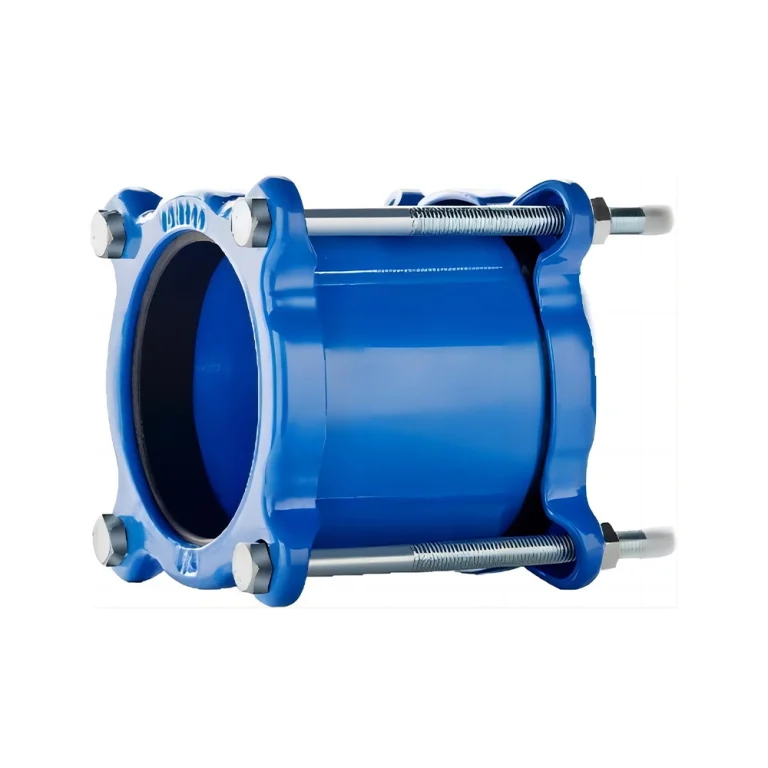
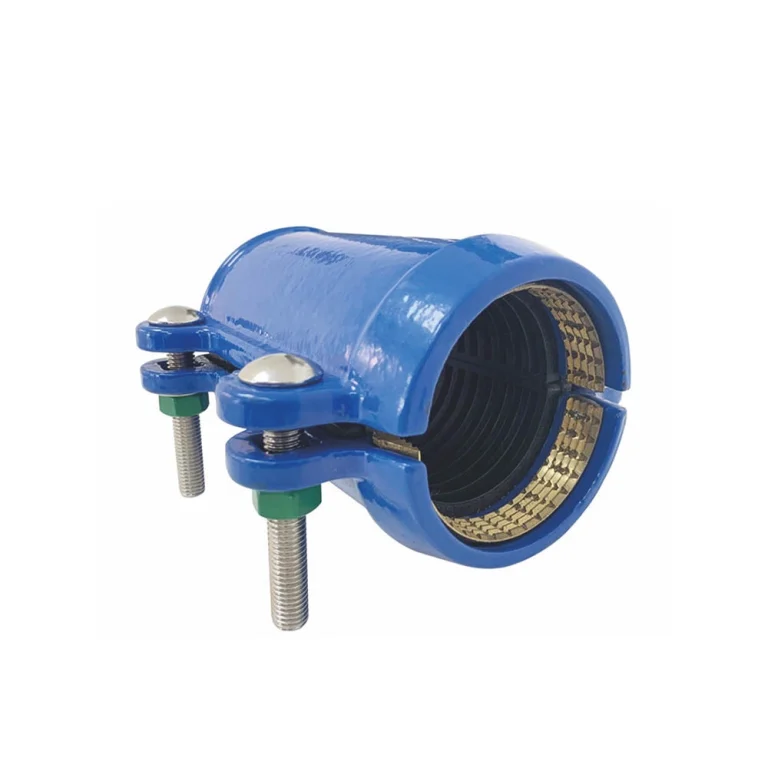
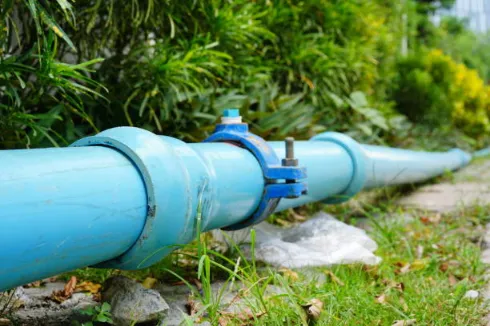
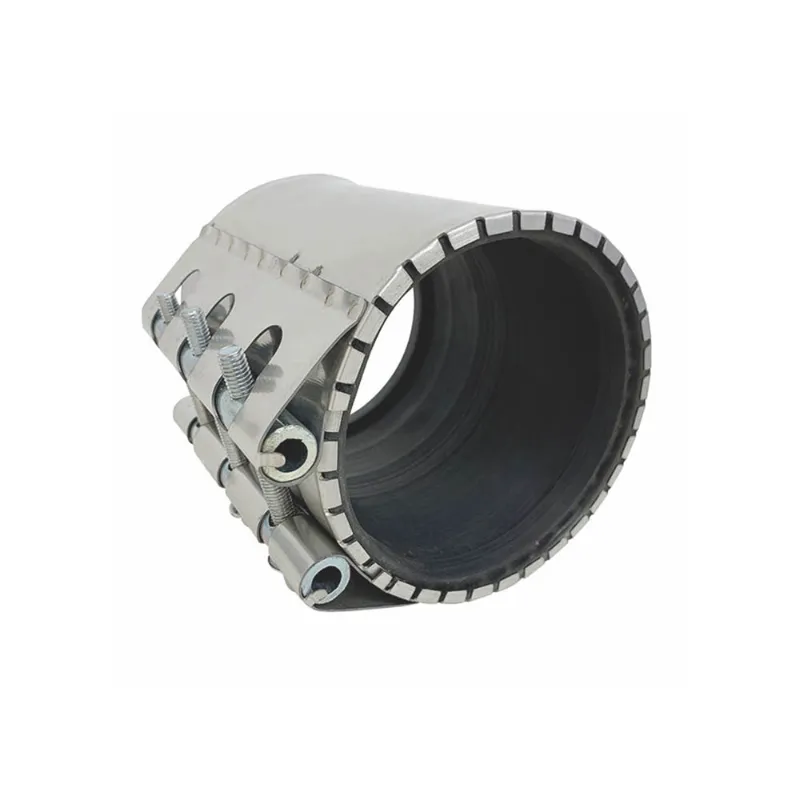
Aplausos de reparação de tubos consertam vazamentos sem trocar tubos inteiros. Elas envolvem-se engraçadamente em pontos quebrados, fechando partidas ou buracos minúsculos. Essas ferramentas úteis trabalham em todo tipo de tubos, pensam em linhas industriais com produtos químicos ou sistemas de água doméstica. Quando um tubo explode, como na sua linha de água potável, os clamps entram para uma poupança rápida. Você as encontrará em fábricas, casas, ou mesmo instalações de irrigação de jardim. Uma clamp a geralmente tem uma banda de metal, um selo de borracha, e boltos para fechá-la firmemente.
Por que usar "Conflex Pipe Repair Clamps"?
Conflex consertar grampos brilham porque elas resistem à raíz, lidam com pressão forte, e são fáceis de colocar. Fazidas por uma empresa conhecida por articulações sólidas de tubos, essas clampas fornecem um selo forte. Eles passam testes de qualidade estritos, então são confiáveis tanto para profissionais como para guerreiros de fim de semana. Escolhar uma marca confiável como Conflex te salva de dores de cabeça futuras. Algumas pessoas saltam a pesquisa das marcas, mas isso é um movimento arriscado.
Ferramentas e Materiales Precisados para Instalação
Ferramentas necessárias
Pegue em equipamento básico antes de começar. - Uma chave ajustadora funciona para a maioria dos boltos. Um screwdriver ajuda com pedaços complicados. Mantenham uma roupa de limpeza ou escova de fio para limpar o tubo. Uma chave de momentos é ótima para precisão, mas uma é normalmente boa. Os cortadores de tubos podem aparecer se você precisar cortar, embora isso não seja comum para clampas.
Equipamento de segurança
As coisas de segurança te mantém protegida. As luvas protegem as mãos de bordos afiados ou químicos. - óculos de segurança bloqueam pedaços voadores. Um tester de pressão vaza sem drama. A proteção das orelhas é inteligente em pontos altos, embora não sempre necessária. Algumas pessoas pensam que is so é extra, mas cortes ou espulsões acontecem rápido, então não o saltem.
Escolhar o Clamp direito
Escolha uma clamp a que corresponda ao tamanho, material e pressão do seu tubo. Primeiro medir o tubo, grande demais ou pequeno demais não funcionará. Para os tubos de metal, vai para clampas com duro selos de borrachaConflex tem opções para diferentes tamanhos e empregos de alta pressão. Pensem no vazamento, buracos pequenos ou grandes quebraços? Também, considere se o tubo enfrenta água ou produtos químicos. Isso importa quando escolher.
Processo de Instalação Passo a Passo
Passo 1 – Prepare o tubo danificado
Primeiro, desliga a água. - Tirar qualquer resto de líquido. Limpa o tubo bem. Usa uma escova de fio para arrancar raíz, terra ou pintura antiga. O sabão e a água enfrentam a grime; Lavar e secar bem. Um tubo limpo ajuda o clamp a ficar apertado. Não apressem esta parte, saltando ela arruina o selo. Os tubos antigos podem ter um cano teimoso, então rasguem um pouco mais.
Passo 2 – Posição do Clamp
Abre o clamp e coloque sobre o vazamento. Coloque o selo de borracha no local danificado. - Mantenham a banda de metal mesmo ao redor do tubo. Evita virar o selo. Para tubos curvos, ajuste-se lentamente. Verifique a posição duas vezes. Pro às vezes usa fita para marcar o ponto. Fique isso certo, ou você está pedindo problemas.
Passo 3 – Fortalecer o Evento das Boltas
Pegue na chave e aperta as bolsas. Usar um padrão de crisscross, como nos pneus de carro. Reforce cada bolto um pouco de vez. Não fique muito forte, você pode esmagar o tubo ou arruinar os fios. O objetivo é ser forte, não super forte. Se há muitos boltos, troque lados enquanto você vai. - Ouçam os creches; Isso é uma pista para parar. Até apertar mantém a pressão estable e impede novos vazamentos.
Passo 4 – Teste para vazamentos
Active a água de novo, mas vai lentamente. - Começa com baixa pressão. Procurem gotas ao redor grampoSe você vê alguma, apertar um pouco mais as boltas. Pinha água saboneira no local, bolhas significam um vazamento. Deixe-o funcionar alguns minutos. Se está seca, você é bom. Às vezes, testem à pressão completa para ter certeza. Não apenas suponha que está bem; O dano da água aumenta rapidamente.
Erros de Instalação Comum para Evitar
Tamanho incorrecto da tampa
Escolhar o tamanho errado é um erro inicial. Muito solto, ele desliza; muito apertado, não vai encaixar. Sempre medir duas vezes. Um tamanho ruim significa uma correção fracassada e horas desperdiçadas.
Desenvolver a Bolta
Reforçar um lado demasiado distorce a clampa. Isso deixa espaços para a água se escapar. Fique com o truque crisscross todas as vezes. É uma maneira fácil de evitar problemas.
Não limpar adequadamente a superfície do tubo
A terra ou a raça debaixo da clampa mata o selo. Os vazamentos continuam se o tubo não estiver limpo. Uma limpeza rápida não vai cortá-la, lavá-la forte. O lixo da esquerda atua como uma parede contra a clampa.
Ignorar precauções de segurança
Saltar luvas ou óculos é pedir problemas. Os bordos agudos cortados, e os resíduos picam. O teste de pressão sem cuidado pode pulverizar água em todo lugar. A segurança não é apenas uma sugestão, mantém o trabalho suave.
Mantenimento e conselhos a longo prazo
Inspecção Periódica de Clamps Instalados
Verifiquem seus clamps a cada alguns meses. Procurem boltas rustas ou selos usados. Reforce qualquer coisa solta. Em áreas molhadas, verifique mais frequentemente para pegar problemas cedo. - Vejam alguma cor estranha? Isso é um sinal para agir. Os cheques regulares mantêm as coisas funcionando.
Substituindo Seals ou Bolts
As selas acabam com o tempo. substituí-los se estiverem quebrados ou duros. - Os boltos podem rasgar; e trocá-los por aço inoxidável. - Mantenham extras por aí. Este truque mantém a clampa indo sem uma repetição completa.
assegurar a prevenção de vazamento a longo prazo
Vejam a pressão do tubo para evitar tensão. Envolve tubos em tempo frio para parar de congelar. Clamps são ótimos para correções rápidas, mas planejam uma solução permanente mais tarde. Adicionar suportes perto da clampa para espalhar peso. Esses hábitos reduzem as emergências.
Conclusão
Instalação de tubos de reparação clamps direito parar vaza rápido e economiza dinheiro. Segue cuidadosamente os passos para uma solução sólida. escolher marcas de confiança como Conflex significa resultados longos. Continua com o cuidado de tubos para lidar com problemas com confiança.
FAQ
Q1: Podem as clampas de reparação de tubos lidar com sistemas de alta pressão?
Sim, muitos clamps, como aqueles para uso industrial, assumem alta pressão. - Verifique as especificações da lâmpada para o seu tubo. Teste isso de vez em quando para ser seguro.
Q2: Quanto tempo duram as clampas de reparação de tubos?
Depende do material e do ambiente, mas os bons nos últimos anos. - Condições rápidas ou duras podem cortar isso. Verifique regularmente para saber quando substituir.
Q3: Serão as clampas de reparação de tubos adequadas para todos os materiais de tubos?
A maioria trabalha em metal, PVC ou cobre. Alguns são feitos para tipos específicos. Coincide com o aperto ao seu tubo para evitar problemas.
Q4: E se o vazamento for grande demais para um clamp?
Grandes fissuras podem ser demasiadas para clampas. Chame um profissional ou substitui o tubo. - Clamps são melhores para pequenos buracos ou buracos.
Q5: Preciso de ferramentas especiais para remover?
Uma chave geralmente faz isso para os boltos soltados. Limpa a tampa depois de reutilizá-la. Não esqueça o equipamento de segurança quando a tirar.